Hiding and revealing objects in Adobe Captivate
Captivate does not have layers like in Storyline, so if your elearning course has clickthroughs, it can be a challenge to program. The trick is that every object you want to reveal or hide has to be coded with an action in a button or advanced action script.
One of Captivate’s differences from Storyline is separate controls for hiding objects in the published version and hiding objects in the coding view. An object hidden in the source can be visible in published and vice versa.
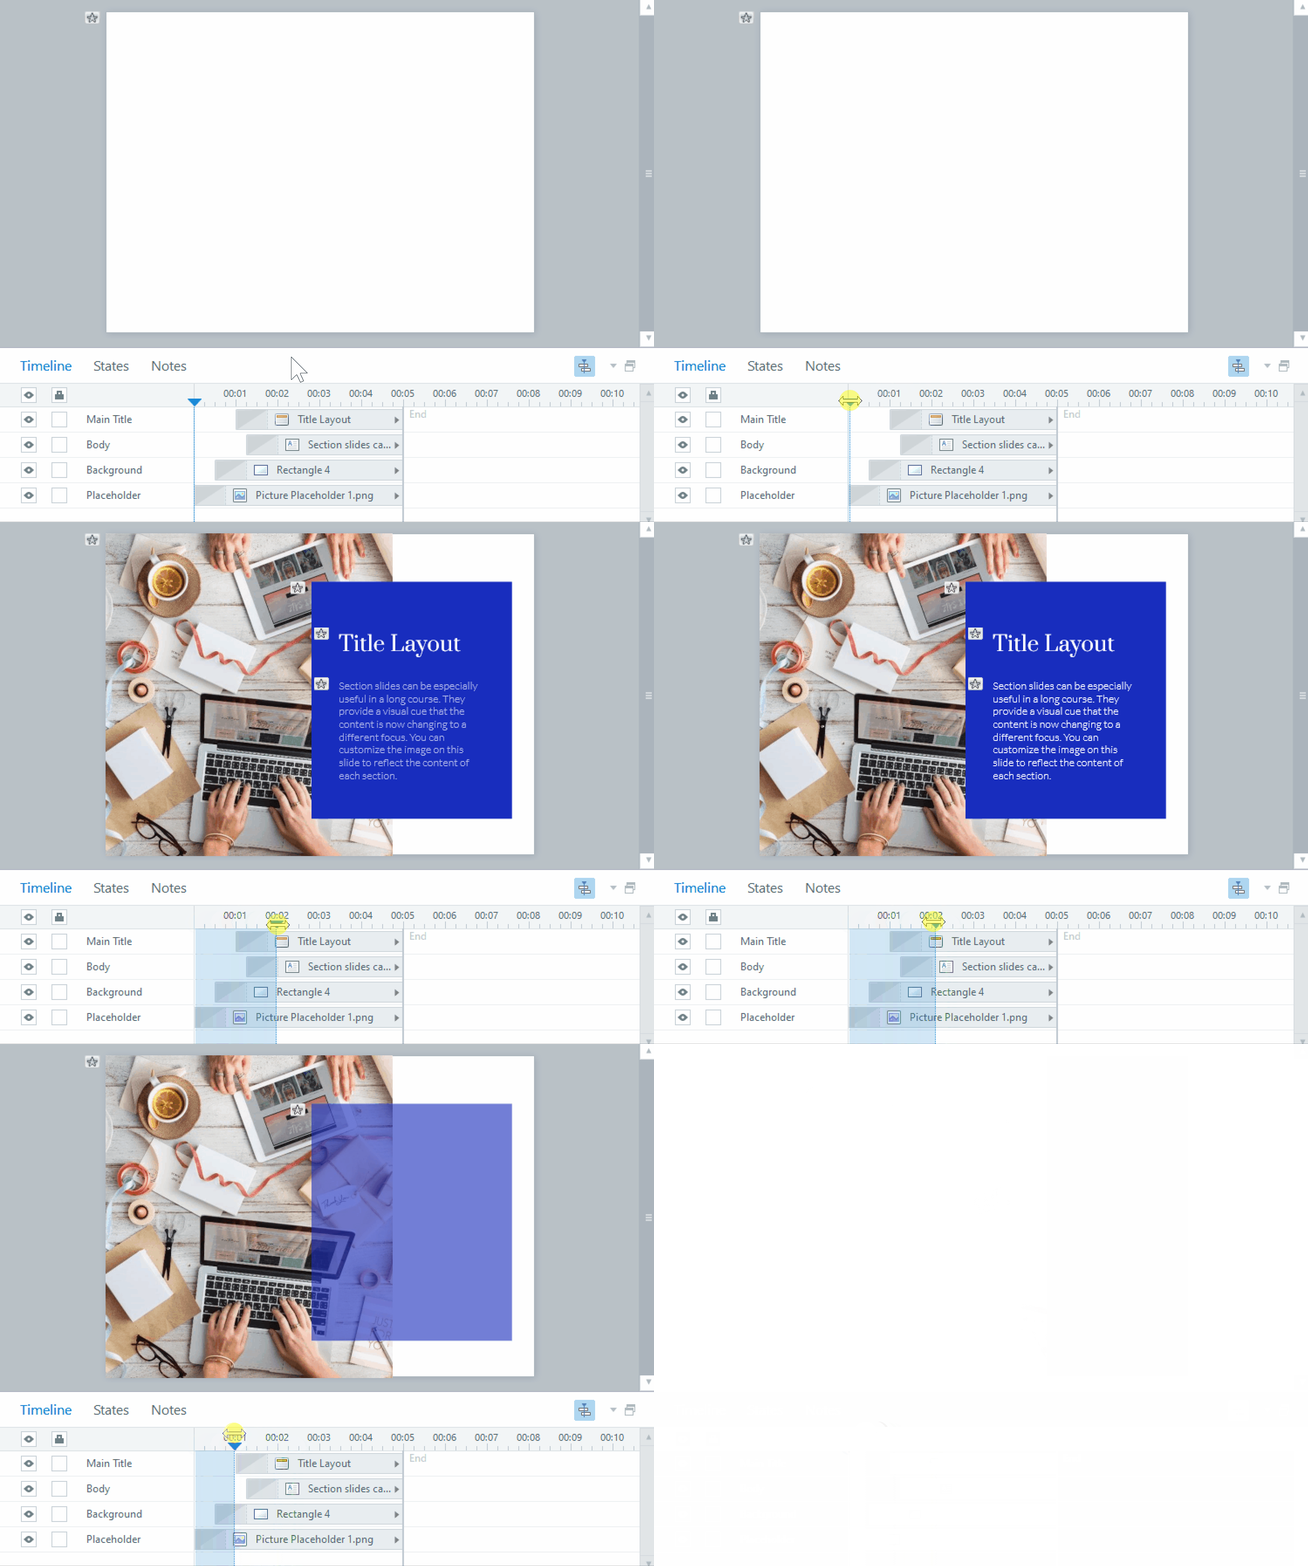
If you need to hide or show objects currently on screen during programming, click the radio button under the eye icon next to the object in the Timeline panel. This makes the screen less cluttered when programming different click and reveal objects in your elearning that will be occupying the same space.

To hide an object in the published module, click on the eye icon next to the object name in the Properties panel. This will make the object hidden even in the published version, unless you create an action to Show the object.

So, to create a click and reveal, create buttons and all of the objects you wish to reveal. Hide the reveal objects by clicking on the eye icon for each of them. Then program the Show action for each of the buttons to show the reveal object.
Note that if a click needs to show more than one object (i.e.: and image and a caption), or if you wish for the other revealed objects to be hidden (i.e.: because there is audio attached to the revealed objects), you will need to write an advanced action script for the button to do all those actions.
To learn more about Captivate, keep watching this space, or contact us today to talk to one of our great programmers to see what we can make happen for you!


