Time - Saving Storyline Tips and Tricks
Here’s a few of my favourite tips and tricks. Keep these in mind when you’re designing your next eLearning module, and they’ll definitely enhance your productivity!
TRANSITIONS
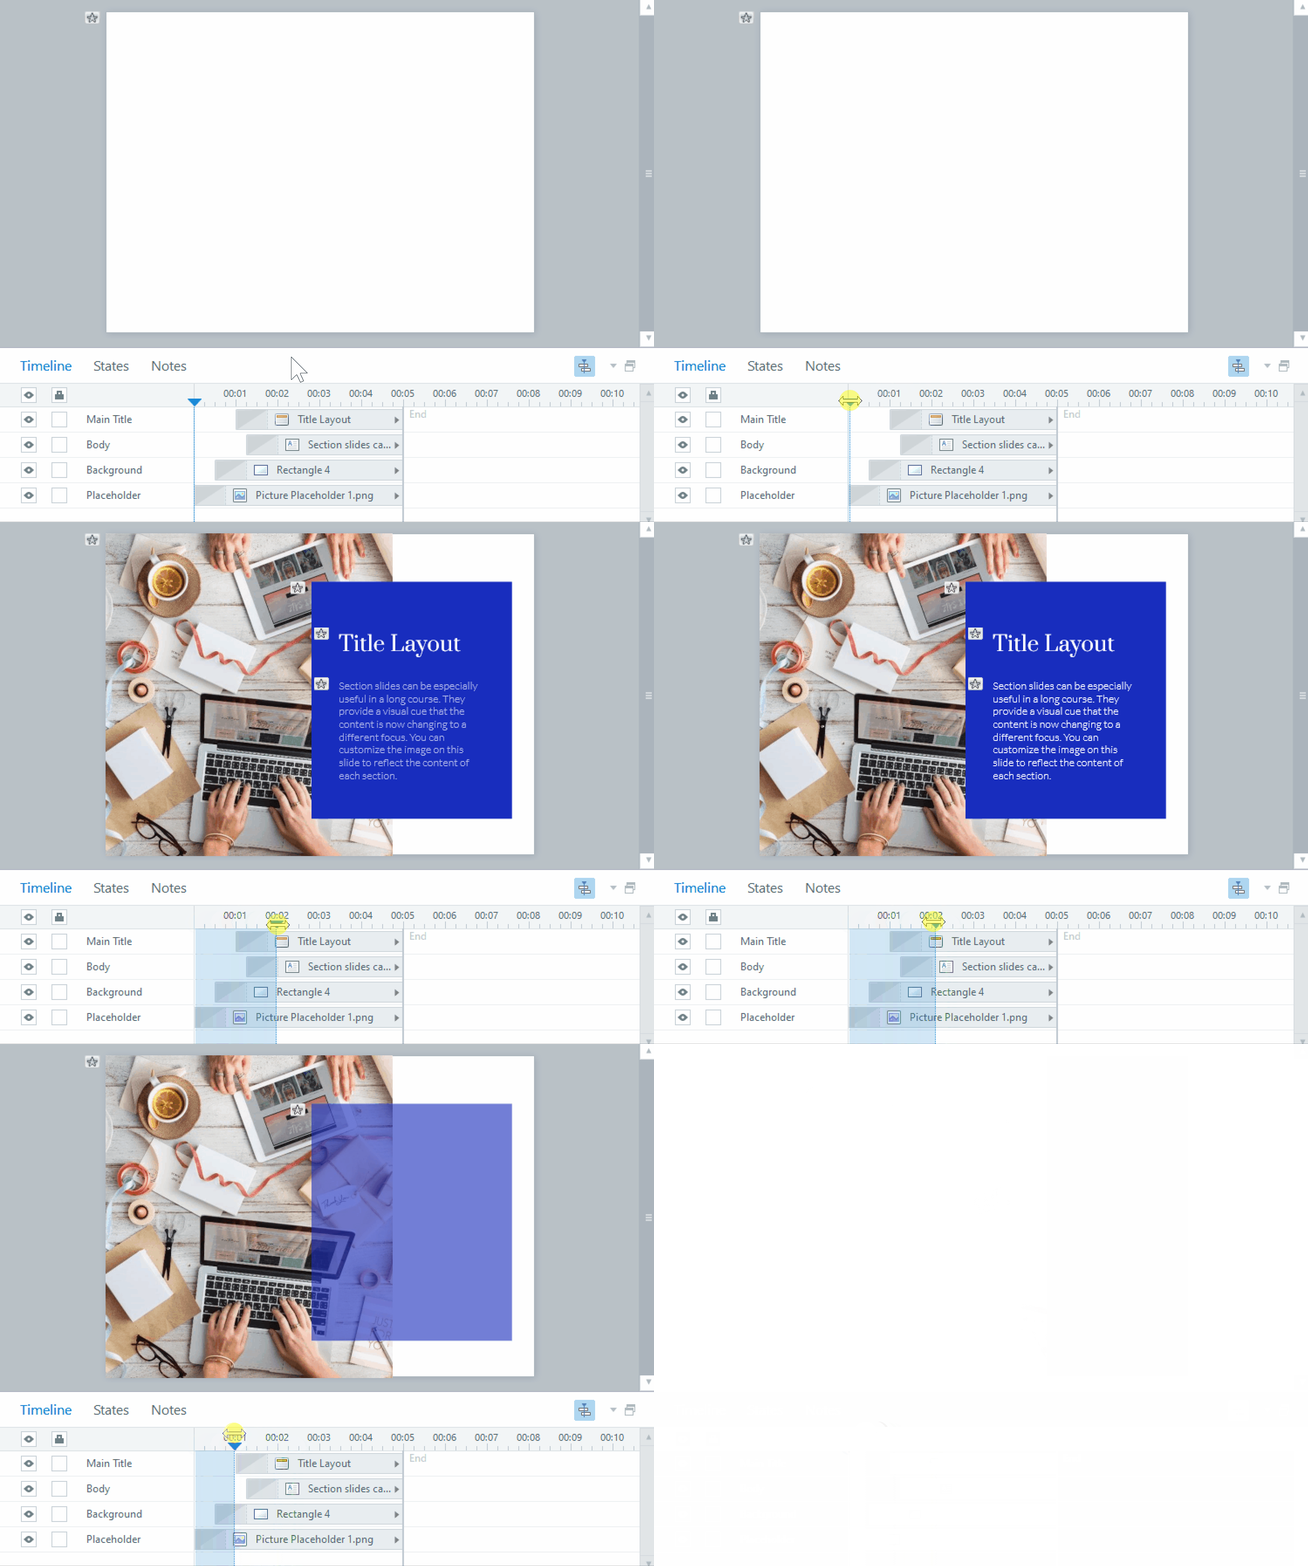
The Transitions panel at the top of the Storyline can be used to adjust the transition between any two screens. This obviously includes between slides, but it can also be used to transition between layers! This can be a great time-saver, if for example you’re using layers to overlay text or images on the base layer. Instead of applying an animation to each element in each layer, you can simply add a single transition to the entire layer. You can select “Apply to All” in the same panel to apply your transition to all layers in your slide.
“FORMAT” DIALOG SHORTCUT
This one is a beauty, and a real must-know for Storyline users. Select any object on your slide and hit Ctrl+Enter to bring up the Format dialog. This saves a ton of right-clicking!
“SIZE AND POSITION” DIALOG SHORTCUT
Hit Ctrl+Shift+Enter to bring up the “Size and Position” dialog. Another neat tip here is that Storyline will remember the last edited parameter, and will automatically bring the focus to the same spot when you re-open the dialog, which saves you even more clicking if you use this to your advantage.
NEW TEXTBOX SHORTCUT
Everyone knows that Ctrl+T gives you a new textbox, but did you know that you can set the textbox’s position on your slide before you create it? Simply left click on the slide where you want your textbox to be created, then hit Ctrl+T. The top-left of the textbox will be at the click point.
TAKE ADVANTAGE OF TRIGGER ORDER
This tip takes a little practice to get used to, and it varies for each situation, but it is generally more efficient to let your slide triggers work together, if possible, rather than duplicating functionality (and complexity) between them. For example I recently wanted to show a warning layer if the user tried to advance to the next slide without visiting all the required links. To do this, I let triggers fall through each other, so that I only had to actually program one of them. Here’s what my two triggers looked like:
Jump to next slide when use clicks Next if … (all links visited)
Show warning layer when user clicks Next
The second trigger doesn’t need any conditions; since Storyline triggers are executed in order, it will only be reached if the first trigger isn’t activated. If all the links have been visited, the slide will change as soon as the first trigger evaluates to true, and the second trigger will never be evaluated.
For more Storyline tips and tricks, visit our website.


